The Ultimate Guide to Ceiling Lamps: Types, Styling, & Installation

Introduction: Why Good Lighting Changes Everything in Your Home
Lighting affects how you feel in a room more than most people realize. Studies show that proper lighting can improve mood and productivity by up to 20 percent in home environments. A dark room feels small and unwelcoming while a well lit space feels open and inviting.
Ceiling lamps are the most common source of light in most houses. They provide general illumination that covers the entire area below them. Choosing the right ceiling lamps makes a huge difference in how your home looks and functions every single day.
This guide covers everything you need to know about ceiling lamps. You will learn about the different types available and how to pick the best style for your decor. We will also walk through the installation process so you can feel confident doing the work yourself or hiring a pro.
What Are Ceiling Lamps and Why Do You Need Them
Ceiling lamps are light fixtures mounted directly to the ceiling surface. They serve as the main source of light for a room in most cases. Without them, you would rely entirely on floor lamps or table lamps which do not cover as much area.
These fixtures come in many shapes and sizes to fit different needs. Some sit flat against the ceiling while others hang down on a chain or rod. The right choice depends on your ceiling height and the amount of light you need for daily tasks.
Installing ceiling lamps adds value to your home as well. Potential buyers look for updated lighting when they tour a property for sale. Good lighting makes rooms appear larger and cleaner which helps when you decide to sell later.
The Main Types of Ceiling Lamps Available Today
There are several distinct types of ceiling lamps to choose from for your home. Each type serves a different purpose and fits specific room layouts. Knowing the differences helps you buy the right fixture for your space.
| Type of Ceiling Lamp | Best Used For | Ceiling Height Requirement |
|---|---|---|
| Flush Mount | Hallways, bedrooms, low ceilings | 8 feet or lower |
| Semi Flush Mount | Living rooms, kitchens, standard ceilings | 8 to 10 feet |
| Chandelier | Dining rooms, entryways, high ceilings | 10 feet or higher |
| Pendant Light | Kitchen islands, reading nooks, task lighting | 9 feet or higher |
| Track Lighting | Offices, galleries, adjustable accent lighting | 8 feet or higher |
Flush mount lights sit directly against the ceiling surface with no gap. These are perfect for rooms with low ceilings where hanging lights would be dangerous. They provide wide coverage without taking up vertical space in the room.
Semi flush mount lights hang down slightly from the ceiling on a short stem. This style adds a bit of decorative flair while still working in standard height rooms. They offer a nice balance between function and visual appeal for many homeowners.
Chandeliers are larger decorative fixtures that often feature multiple bulbs or crystals. They work best in dining rooms or grand entryways with high ceilings. A chandelier acts as a focal point for the room rather than just a light source.
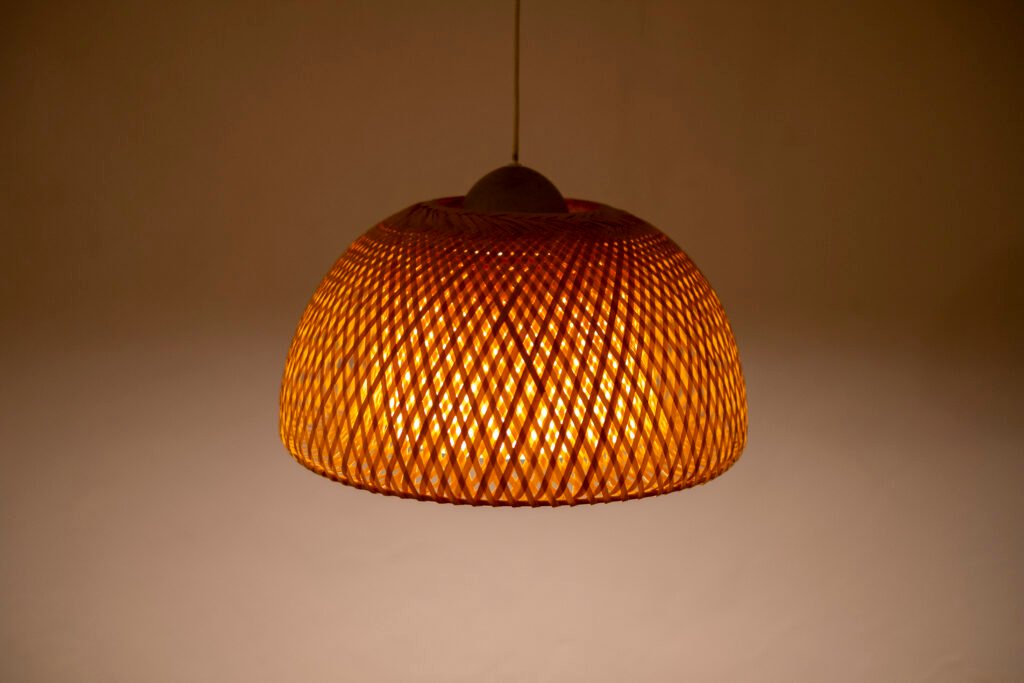
Pendant lights hang from a single cord or chain and focus light downward. You often see these over kitchen islands or dining tables. They provide task lighting for specific areas where you need extra brightness for work.
Track lighting consists of multiple light heads on a single track system. You can aim each head in a different direction to highlight art or walls. This type is very flexible and works well in home offices or creative studios.
How to Choose the Right Size Ceiling Lamp for Your Room
Size matters more than people think when buying ceiling lamps. A fixture that is too small looks lost on a large ceiling. A fixture that is too large overwhelms the space and makes the room feel cramped.
Measure the length and width of your room in feet to start. Add those two numbers together to get a baseline number for the fixture diameter. For example a 10 foot by 12 foot room equals 22 feet so look for a 22 inch wide fixture.
Ceiling height also plays a big role in sizing decisions. Low ceilings need flush mount lights to avoid head bumps and safety issues. High ceilings can handle larger chandeliers or pendant lights that hang down lower.
Consider the furniture layout below the light as well. A dining table needs a light centered over it rather than centered in the room. A living room might need a light centered over the seating area for best results.
Understanding Light Bulbs and Brightness Levels
The bulb you choose changes how the light feels in the room. Old incandescent bulbs are being replaced by LED bulbs in most homes now. LEDs last longer and use much less electricity to produce the same amount of light.
Brightness is measured in lumens rather than watts for modern bulbs. A 60 watt incandescent bulb gives about 800 lumens of light output. You need more lumens for kitchens and less for bedrooms where you want relaxation.
Color temperature is measured in Kelvin and changes the mood of the light. Warm white light around 2700 Kelvin feels cozy and is good for living rooms. Cool white light around 4000 Kelvin feels crisp and is better for kitchens or offices.
Dimmable bulbs let you adjust the brightness to fit your activity at the time. You might want bright light for reading and soft light for watching television. Make sure your ceiling lamp and switch support dimming before buying these bulbs.
Styling Tips for Matching Ceiling Lamps to Your Decor
Your ceiling lamp should match the style of furniture and walls in the room. A modern lamp looks strange in a room full of antique wood furniture. Matching styles creates a cohesive look that feels planned and professional.
Modern homes benefit from clean lines and simple materials like metal or glass. Look for flush mount lights with brushed nickel or matte black finishes. These finishes blend well with contemporary appliances and decor items.
Traditional homes look best with ornate details and warmer metal tones. Brass or bronze finishes work well with wood floors and classic furniture styles. Glass shades with patterns add a touch of elegance to the overall design.
Farmhouse styles use natural materials like wood or wrought iron often. Rustic ceiling lamps with Edison bulbs fit this look perfectly. They add warmth and character to kitchens and dining areas in country style homes.
Coastal styles use light colors and natural textures like rope or rattan. White or cream finishes help reflect light and keep the room feeling airy. These styles work well in sunrooms or beach houses near the ocean.
Where to Install Ceiling Lamps in Different Rooms
Each room in your house has different lighting needs based on how you use it. The kitchen needs bright light for cooking and cleaning tasks safely. The bedroom needs softer light for reading and winding down before sleep.
Kitchen Lighting Needs
Kitchens require the most brightness of any room in the average house. You need to see clearly when chopping vegetables or reading recipes. A flush mount or semi flush ceiling lamp provides good general light for the whole space.
Add pendant lights over islands or sinks for extra task lighting. These focused lights help you see what you are doing on the counter. Combining general ceiling light with task light gives you the best visibility possible.
Bedroom Lighting Needs
Bedrooms need softer light to help you relax at night. Harsh bright light can make it hard to fall asleep after a long day. Choose a ceiling lamp with a dimmer switch or warm color temperature bulbs.
Place the light centrally in the room for even coverage. If you read in bed often consider adding bedside lamps as well. The ceiling lamp should handle general lighting while bedside lamps handle reading tasks.
Living Room Lighting Needs
Living rooms are used for many activities like watching TV or hosting guests. You need flexible lighting that can change based on the activity. A ceiling lamp with a dimmer gives you control over the mood in the room.
Avoid placing the light directly over the television screen. Glare on the screen makes it hard to see the picture clearly. Center the light over the main seating area instead for best results.
Bathroom Lighting Needs
Bathrooms need bright light for grooming and applying makeup safely. Moisture is a concern so choose fixtures rated for damp locations. Glass shades are easier to clean than fabric shades in humid rooms.
Place the light near the mirror if possible for best visibility. A central ceiling lamp works well for general illumination during showers. Make sure the fixture is sealed to prevent water from entering the electrical parts.
Hallway and Entryway Lighting Needs
Hallways need enough light to see where you are walking safely. A simple flush mount light works well in narrow spaces with low ceilings. Entryways set the tone for the whole house so choose something welcoming.
A semi flush mount or small chandelier makes a good first impression. Guests see this light first when they walk through the front door. Keep the style consistent with the rest of your home for a unified look.
Safety First: What to Know Before Installing Ceiling Lamps
Electrical work can be dangerous if you do not follow safety rules carefully. Always turn off the power at the main breaker box before starting any work. Never trust just the wall switch because someone else might turn it on by mistake.
Use a voltage tester to confirm the power is off before touching wires. Touch the tester to the wires in the ceiling box to check for current. If the tester lights up or beeps the power is still on and you must stop.
Wear safety glasses to protect your eyes from dust and debris falling from the ceiling. Old ceiling boxes often have insulation or dust that drops down when you remove the old fixture. Protecting your eyes prevents injury and keeps you comfortable during the job.
Make sure the ceiling box is rated to hold the weight of the new light. Heavy chandeliers need special reinforced boxes to stay secure over time. A standard light box might fail under the weight of a large fixture and cause damage.
Step by Step Installation Guide for Ceiling Lamps
Installing a ceiling lamp follows a logical process that anyone can learn with patience. Gather your tools like a ladder screwdriver wire strippers and voltage tester first. Having everything ready makes the job go faster and smoother for you.
Remove the old fixture by unscrewing the mounting hardware carefully. Support the weight of the old fixture with one hand while unscrewing with the other. Disconnect the wires by removing the wire nuts that hold them together.
Check the ceiling box to make sure it is secure and ready for the new light. Tighten any loose screws that hold the box to the ceiling joist. A loose box will cause the new fixture to wobble or fall later on.
Connect the wires from the new fixture to the wires in the ceiling box. Match black to black for hot wires and white to white for neutral wires. Connect the green or bare copper wire to the ground screw in the box.
Secure the fixture base to the ceiling box using the provided mounting bracket. Tighten all screws firmly but do not overtighten which might crack the material. Attach any glass shades or bulbs according to the manufacturer instructions.
Turn the power back on at the breaker box to test the light. Flip the wall switch to see if the ceiling lamp turns on properly. If it does not work turn the power off and check your wire connections again.
Troubleshooting Common Ceiling Lamp Problems
Sometimes things do not work right even after careful installation. Knowing common problems helps you fix them without calling an electrician immediately. Most issues are simple to solve with a few basic checks.
Light Does Not Turn On
Check the light bulb first to see if it is burned out. Replace it with a new bulb that you know works in another fixture. If the new bulb does not work check the wall switch for power.
The circuit breaker might have tripped during installation by accident. Go to your breaker panel and look for any switches in the middle position. Reset the breaker by flipping it fully off and then back on again.
Light Flickers Often
Flickering usually means a loose bulb or a loose wire connection somewhere. Tighten the bulb into the socket gently to ensure good contact. If that fails turn off the power and check the wire nuts in the ceiling box.
Dimmer switches sometimes cause flickering with LED bulbs that are not compatible. Check the bulb package to see if it says dimmable on the label. Replace the bulb with one designed for use with dimmer switches to stop the flicker.
Fixture Buzzes or Humms
A buzzing sound often comes from a incompatible dimmer switch or loose part. Tighten any loose screws on the fixture canopy or mounting bracket. If the noise continues try changing the dimmer switch to an LED compatible model.
Transformers inside some fixtures can make noise as they age over time. This is common in low voltage lighting systems used for some ceiling lamps. Replacing the transformer or the entire fixture might be needed if the noise is loud.
Fixture Wobbles or Moves
Wobbling means the mounting bracket is not tight against the ceiling box. Turn off the power and tighten all mounting screws securely. Check that the ceiling box itself is not loose within the ceiling structure.
Heavy fixtures need extra support from the ceiling joists above. Install a brace between joists to hold the ceiling box firmly in place. This prevents movement and keeps the fixture safe for years to come.
Energy Efficiency and Saving Money on Lighting
Lighting accounts for a large part of the monthly electricity bill in many homes. Switching to energy efficient ceiling lamps reduces this cost significantly over time. LED technology uses far less power than older bulb types for the same light.
An LED bulb uses about 10 watts to produce the same light as a 60 watt incandescent bulb. That saves 50 watts per hour for every bulb you replace in the house. Multiply that by all the hours the light is on and the savings add up fast.
Look for the Energy Star label when buying new ceiling lamps and bulbs. This label means the product meets strict efficiency guidelines set by the government. Products with this label often last longer and perform better than non labeled options.
Using dimmer switches also saves energy by reducing power when full brightness is not needed. Dimming a light to 50 percent brightness can save more than 50 percent of the energy. It also extends the life of the bulb which saves money on replacements.
Smart bulbs let you control lights from your phone to avoid wasting energy. You can turn off lights remotely if you forget when leaving the house. Some smart bulbs also schedule lights to turn off automatically at certain times.
Maintenance Tips to Keep Ceiling Lamps Looking New
Dust and dirt build up on ceiling lamps over time and reduce light output. Cleaning your fixtures regularly keeps them bright and looking clean for guests. It also prevents dust from falling onto furniture below when the fan or air moves.
Turn off the power and let the bulbs cool before cleaning any fixture. Use a soft microfiber cloth to wipe down metal parts and glass shades gently. Avoid harsh chemicals that might damage the finish or etch the glass surface.
Check for loose screws every six months during your cleaning routine. Vibrations from closing doors or walking upstairs can loosen mounting hardware over time. Tightening them prevents the fixture from becoming unstable or falling later on.
Replace bulbs before they burn out completely if you notice them dimming. Old bulbs use more energy and produce less light than new ones do. Keeping fresh bulbs in all your ceiling lamps ensures consistent lighting throughout the home.
Inspect the wiring occasionally if you can see into the ceiling box safely. Look for any signs of discoloration or melting on the wire insulation. These signs indicate overheating and mean you should call an electrician immediately.
When to Hire a Professional Electrician for Installation
Some installation jobs are too complex or dangerous for a DIY approach. Knowing when to call a pro saves you time and prevents costly mistakes later. Safety should always come before saving money on labor costs.
Call an electrician if you need to install a new ceiling box where none exists. Cutting into the ceiling and running new wiring requires knowledge of building codes. A professional ensures the work meets all safety standards for your area.
Heavy chandeliers weighing over 50 pounds need special structural support installed. An electrician can reinforce the ceiling joists to hold the weight safely. Trying to hang a heavy light on a standard box is a major safety risk.
Older homes often have outdated wiring that cannot handle new fixtures safely. Aluminum wiring or cloth covered wires need special handling and connectors. A professional knows how to work with these older systems without causing fire hazards.
If you feel unsure about any step of the installation process stop and call help. Electricity is invisible and dangerous when handled incorrectly by inexperienced people. Paying for peace of mind is worth the cost for complex electrical work.
Conclusion: Light Up Your Home with Confidence
Ceiling lamps are essential for making your home functional and beautiful every day. Choosing the right type and size improves how you live in your space significantly. Proper installation ensures safety and long term performance for your lighting system.
You now know the different types of fixtures and how to match them to your rooms. You understand the basics of bulbs brightness and color temperature for best results. Safety tips and installation steps give you the confidence to start your project today.
Take action by measuring your rooms and looking at options online or in stores. Compare styles and prices to find the best ceiling lamps for your budget and needs. Your home deserves good lighting that makes every room feel warm and welcoming.


Responses